There are three options from which you can choose to create your custom Google map. Depending on your knowledge and the purpose of creating your customized map, one map-creation method may be more ideal than the others.
- Use Google Maps’ My Maps feature
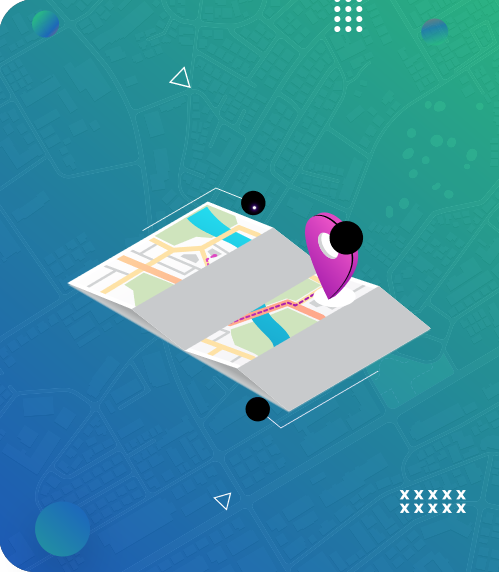
- Use a map-making platform, such as ShowMyMap
- Create your own mapping application using Google Maps’ API
Let’s go through each method step by step.
Google Maps’ My Maps
You can use Google Maps’ My Maps to create a customized map for free. This method is a good choice if you have zero coding skills and a limited budget.
- Go to Google Maps and find the Menu icon in the upper left-hand corner.
- Click on the Menu and find the “Your Places” option; click on this.
- Click on “Maps” which you’ll find in the upper right-hand corner.
- Scroll down the Maps menu and click on “Create Map.”
- On the map creation page, click the marker icon.
- Place the marker where you want to put it on the map. Once the marker has been positioned, a box will pop up. Input details about the marker, such as a name, description, and/or other attributes that identify the marker.
- Repeat steps 4-6 to keep adding markers.
- Refer to the image below for the final steps. Click on (1) to name your map; click on (2) to name your layer (the layer containing the marker/s your added); and click on (3) to view sharing options.
Keep in mind that because Google’s My Maps is free, the map-making tool offers limited options for map customization.
ShowMyMap
ShowMyMap is an intelligent and easy-to-use map-making tool powered by Google Map’s API. It has free and paid versions, and you can enjoy more options for customization, editing, security, and data manipulation and analysis depending on your needs.
All you’ll need to get started is your location data organized in a spreadsheet. Just follow these steps:
- Select and copy your spreadsheet location data and paste it into ShowMyMap’s map-making tool. Alternatively, you can also drag and drop your spreadsheet file into the appropriate box.
- Click “Create Map.”
- You’ll be taken to the Geo Decoding section where you can edit/set your data fields depending on the types of location data you provided, such as addresses, city/county, state/province/post code, zip code/post code/country, latitude/longitude, etc. Select all the appropriate fields.
- Click “Make Map.” You’ll get a map that looks like this:
- Click “Save Map + Continue.”
- Select how you want to save your map, and input your map’s title, your email, and any notes or description you want to add.
- Click “Save Map.”
- You’ll be provided with your map’s URL, which you should save and you can use to share your map with others. Click on “View Saved Map” and then you will be directed to your map page.
With ShowMyMap Pro and Pro+, you can customize your map markers, create unlimited maps, have tens of thousands of pins, have a heat map function, enjoy different export options, have password-enabled maps, and do so much more.
Use Google Maps’ API
If you know how to write code, you can create your customized map from scratch using Google Maps’ API. This method requires knowledge of programming languages, such as HTML, and it takes a lot of time. The advantage is that you have more freedom to customize your map the way you want. Keep in mind that using Google Maps’ API for free also has limitations.
If you want to give it a go, you can follow this tutorial.
What’s The Best Option To Create Custom Google Maps?
It depends on what you need the map for, how you want it customized, your budget, and skill level.
Google Maps’ My Maps may be sufficient if you need to make a custom map quickly and only require limited functionality. If you want more options for customization and other features, your best bet is ShowMyMap.
Start creating your free map now!